Guide / Plumbing
Fix a leaky faucet.
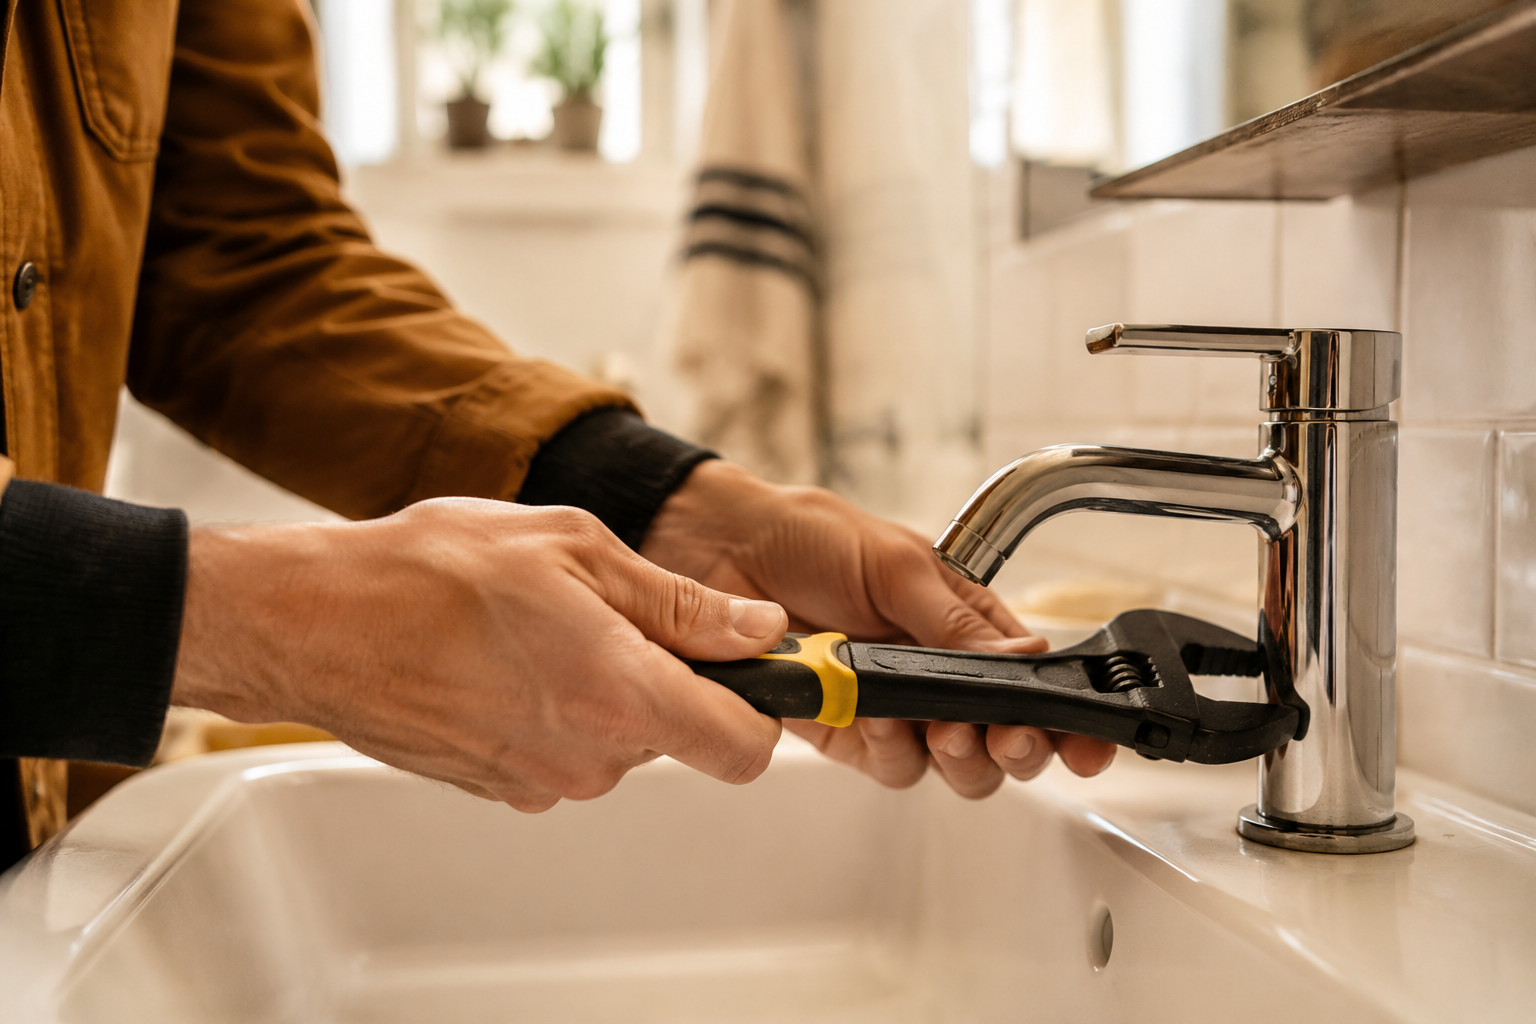
Most “leaky faucet” repairs are a worn cartridge or rubber washer — a $4 part and 30 minutes. Here’s how to do it without flooding the bathroom.
You’ll need.
- Adjustable wrench (10″)
- Phillips screwdriver
- Allen-key set (small sizes, often 2-4mm)
- Replacement cartridge / washer (faucet-specific)
- Plumber’s grease (optional)
- Rag for catching drips
Time: 30–45 minutes
From kit: Plumbing Emergency Kit (A-02) or Home Fix-It Kit (A-01)
Steps.
Shut off the water under the sink.
Both supply valves — hot and cold. Turn clockwise until firm. Open the faucet to release residual pressure.
Plug the drain.
Small parts will fall. Plug the drain or put a rag in it.
Find the handle screw.
Usually hidden under a decorative cap on top or behind the handle. Pry the cap off gently. Remove the screw underneath with Phillips or Allen key.
Pull the handle, then the cartridge.
Handle comes off straight up. Below it: a retaining nut (use the adjustable wrench, counter-clockwise). Below that: the cartridge — pull straight up. Note the orientation before you remove it.
Match and replace.
Take the old cartridge to a hardware store. Match it by part number if visible, otherwise by shape. Single-handle faucets use cartridges; older two-handle faucets often have just a rubber washer at the bottom of the stem — even cheaper to replace.
Reassemble in reverse order.
Cartridge in (correct orientation), retaining nut hand-tight then wrench-snug (do not over-tighten), handle on, screw in, cap on.
Turn the water back on slowly.
Open the supply valves one-quarter turn first, watch for leaks at the cartridge. If dry, open fully. Run the faucet for 30 seconds.